
You can have brilliant ideas, a strong voice, and a great podcast concept, but if your podcast audio sounds rough, echoey, distorted, or inconsistent, people will leave faster than you think. Bad audio quality is one of the fastest ways to lose listeners, no matter how brilliant your content is. People will give a poorly designed website a second chance, but they will not give a crackly, muffled podcast another episode.
Whether you are just launching your first episode or you have been podcasting for a while and wondering why your numbers are not growing, then this blog is going to walk you through the complete setup from the right gear to the right room, right recording habits, and right editing workflow step-by-step. So, let’s get into it.
Why High-Quality Podcast Audio Matters
When you improve your audio, you improve the entire listening experience. Your audience wants to focus on what you are saying, not on background noise, popping sounds, uneven volume, or distracting echoes. Ultimately, high-quality audio matters because it helps you build trust with your audience, sound more professional, keep your listeners engaged, and reduce listener fatigue.
Beyond listener experience, high-quality audio also signals professionalism. When your podcast sounds clean and polished, it tells your audience and potential sponsors that you are serious, credible, and dedicated to delivering authentic content.
Essential Equipment for High-Quality Podcast Audio

You do not need the most expensive tool in the market, but you do need equipment that fits your recording style and space. A few smart choices can make a huge difference in your podcast audio quality. Let’s understand them in detail:
- Choosing the Right Microphone
Your microphone is the heart of your setup. If you get this part right, most of your sound issues are solved.
There are two main types of microphones that you can consider:
- Dynamic Microphones: These microphones are built to reject background noise. They are less sensitive, which means they focus on what is close to them, mainly your mouth, and ignore the rest. If you are recording in a less-than-perfect room, a dynamic mic can be the right fit for you.
- Condenser Microphones: These microphones capture more detail and can sound extremely clear, but they also pick up more room noise. If your recording space is treated well, a condenser mic is the best. But if you are recording at home and want a safer option, a dynamic microphone is often the better choice.
- Audio Interface and Mixer
An audio interface converts your voice into digital audio for your computer. It usually offers better control and clear sound. A mixer gives you more hands-on control over multiple audio sources. This can be useful if you have guests in the room, live elements, or a more advanced production style.
To be honest, an audio interface is the simpler and smarter choice because it keeps your setup clean and gives you the control you need without unnecessary complexity.
- Headphones for Monitoring
Never overlook headphones because they are essential in helping you hear background hum or hiss, mouth clicks, distortion, and inconsistent volume. Monitoring your audio while recording helps you catch problems in real time before you spend an hour editing only to realize there was a weird hum the entire time.
Selecting the Right Recording Environment
Your room is just as important as your mic. A big, empty room with hardwood floors is an echo chamber. To get professional podcast audio, you need a proper space, like:
- Soft Surfaces: Record in a room with carpets, curtains, and plenty of furniture.
- The Closet Hack: If you are just starting, recording in a walk-in closet full of clothes is one of the best ways to get studio-quality sound for free. The fabric absorbs all the bouncing sound waves.
Proper Microphone Setup and Placement
To set up your microphone correctly, keep these few points in mind:
- A common mistake is placing the mic too far away. When that happens, your voice sounds thin, and your room sound becomes more noticeable. On the other hand, if you get too close, you may create heavy breathing sounds or distortion.
- A good starting point is to keep the microphone about 4 to 8 inches away from your mouth. Also, don’t speak directly into the center of the mic; angle it slightly toward your mouth (about 45 degrees).
- If you want a clean audio then you can use a pop filter, it is simple, affordable, and helps keep your recording smoother.
Best Recording Techniques for Clear Audio
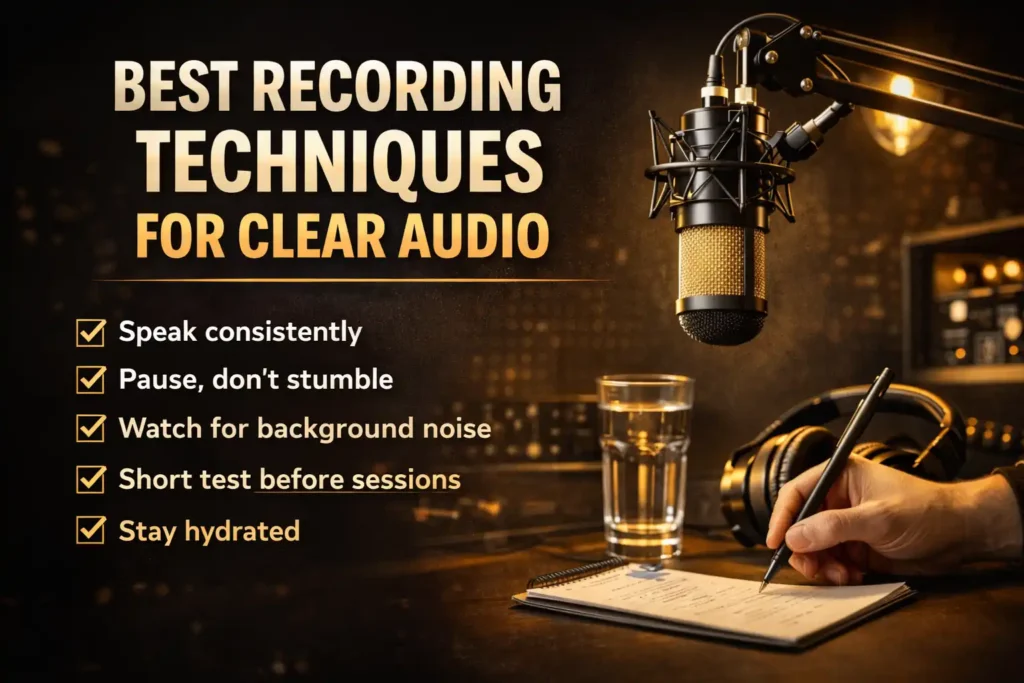
How you actually use your voice and behave during a recording session plays a huge role in your final output. There are some clear audio techniques that you can follow, such as:
- Speaking consistently: You should try to maintain a consistent distance from the microphone throughout the session because moving away to laugh or turning your head to look at notes changes your volume and tone dramatically.
- Pause, do not stumble: If you make a mistake, then keep calm first and pause for two seconds, then redo the sentence. That pause gives you a clear edit point.
- Watch for background noise: Turn off fans, air conditioners, and other appliances before you record. Let everyone know you are recording and keep your phone on silent mode. These things seem obvious, but in the flow of a recording session, you may forget.
- A short test before every session: To understand your speaking patterns, voice note, and tonality, try to take a short test before every session, so you can find out your mistakes and correct them before starting the actual recording.
- Stay hydrated: Drink water before and while you record. If your mouth is dry, it makes clicking sounds that are annoying and take too long to fix later.
Editing for High-Quality Podcast Audio
Recording is only half of your work; editing is where your podcast audio goes from good to genuinely professional, so let’s understand a few editing pointers that make the podcast effective:
- Noise Reduction
Your first editing step should be noise reduction. Try to remove consistent background noise like room hum, computer fan noise, or air conditioning. Tools like Audacity (free), Adobe Audition, or iZotope RX can analyze a sample of your background noise and subtract it from the entire recording. Moreover, be careful not to overdo it because too much noise reduction creates an unnatural, metallic quality that sounds worse than the original noise.
- Equalization and Compression
Equalization (EQ) lets you shape the tonal quality of your voice. For example, If your voice sounds boxy, then you can slightly cut in the muddy 200–400Hz, or if you want to add presence and clarity, then you can boost gently around 3–5kHz.
Similarly, compression evens out the dynamic range of your voice, making quiet moments louder and loud moments slightly quieter. With compression, you can smooth out uneven speech, make the voice sound more controlled, and make the podcast feel more consistent overall.
- Adding Intro, Outro, and Music
Intro music, outro music, and transitions can make your podcast feel more complete, but they should support your voice, not overpower it. If your music is too loud, it will distract from your message and create an uneven listening experience. Make sure that the music volume is lower than your speaking voice, transitions are smooth, intros are not too long, and outros feel natural and not rushed.
Maintaining Consistent Audio Quality
Consistency matters just as much as quality. Your listeners should be able to jump from episode 5 to episode 50 and hear the same clean, warm, well-balanced audio. That consistency builds trust and signals that your show is here to provide value.
To keep your sound consistent, use the same microphone and settings each time, record in the same room when possible, maintain similar mic placement, and use a repeatable editing workflow.
Pro Tip: Create a recording checklist. When you follow the same process every time, you reduce mistakes and improve your final sound without extra stress.
Common Mistakes That Reduce Podcast Audio Quality
Sometimes it is not about what you should do. It is about what you need to stop doing.
Here are some common mistakes that can reduce your podcast audio quality:
- Using cheap earbuds to monitor: Earbuds are not monitoring tools. They do not give you an accurate picture of what your audio really sounds like; it is advisable for you to get a proper pair of headphones for monitoring.
- Over-processing in post: If you use too much noise reduction, too heavy compression, too much EQ, then all of it can make your podcast audio sound artificial and fatiguing to listen to.
- Not doing a test recording: Every time you move your setup, change your room, or add new equipment, record a short test and listen back before committing to a full recording session. 5 mins of testing can save you an hour of frustration.
- Ignoring file quality: Export and upload your final episodes as MP3 files at 128kbps for mono or 192kbps for stereo. Going lower will noticeably degrade your sound. Going higher will bloat your file size without meaningful improvement.
Conclusion
You have done the hard part; you have learned what great podcast audio actually takes. But honestly, even with the best mic, the best technique, and the best editing workflow, there is one thing that is very hard to replicate at home, and that is a professional recording environment. You will only get this in the best podcast studio, where all the industry-standard equipment is available and which delivers that crisp, broadcast-quality sound that keeps listeners engaged. All these qualities are there in place, and that is Echorix studio.
At Echorix, we have helped dozens of first-time creators and experienced artists get studio-grade audio without the stress of setting up, recording, editing, and launching the episodes.
Whether you need a fully equipped recording space, professional editing support, or just a team that knows what good audio actually requires, we have got you covered at every step.
For more details, contact us on echorixstudio.com or call us at 9257106755
FAQs
1. What is considered high-quality podcast audio?
High-quality podcast audio is clean, clear, and consistent. It means your voice is warm and present, there is no distracting background noise or reverb, the volume is balanced, and the overall listening experience feels effortless.
2. How can I improve my podcast audio quality at home?
Start with your room. Add soft furnishings, hang curtains, and try recording in a closet full of clothes. Position your microphone correctly, about four to six inches away from your mouth. Apply basic noise reduction and gentle EQ in your editing software. These steps alone can dramatically improve your sound without spending a dime on new gear.
3. Do I need soundproofing for podcast recording?
Full soundproofing is not necessary for most podcasters. What you actually need is acoustic treatment materials that absorb sound reflections inside your room rather than block outside noise. Foam panels, rugs, curtains, and soft furniture all help significantly.
4. What software is used to edit podcast audio?
The most popular podcast editing tools are Audacity (free and beginner-friendly), Adobe Audition (professional-grade), and Descript (which lets you edit audio by editing a text transcript, great for non-technical podcasters). For advanced noise removal and repair, iZotope RX is the industry standard tool.